ESPHome configuration and steps used to smart enable my two garage door openers to allow control of the garage doors as well as status if the garage is open or closed. Integration completed to Home Assistant using API from esphome.
ESPHome device was built using a custom board with screw down terminals, and 4 relays built in. Used ESPHome Docker to compile initial configuration and load onto device. Ran 4 wire cable to leverage for run from board to sensors and for a run to each of the openers.
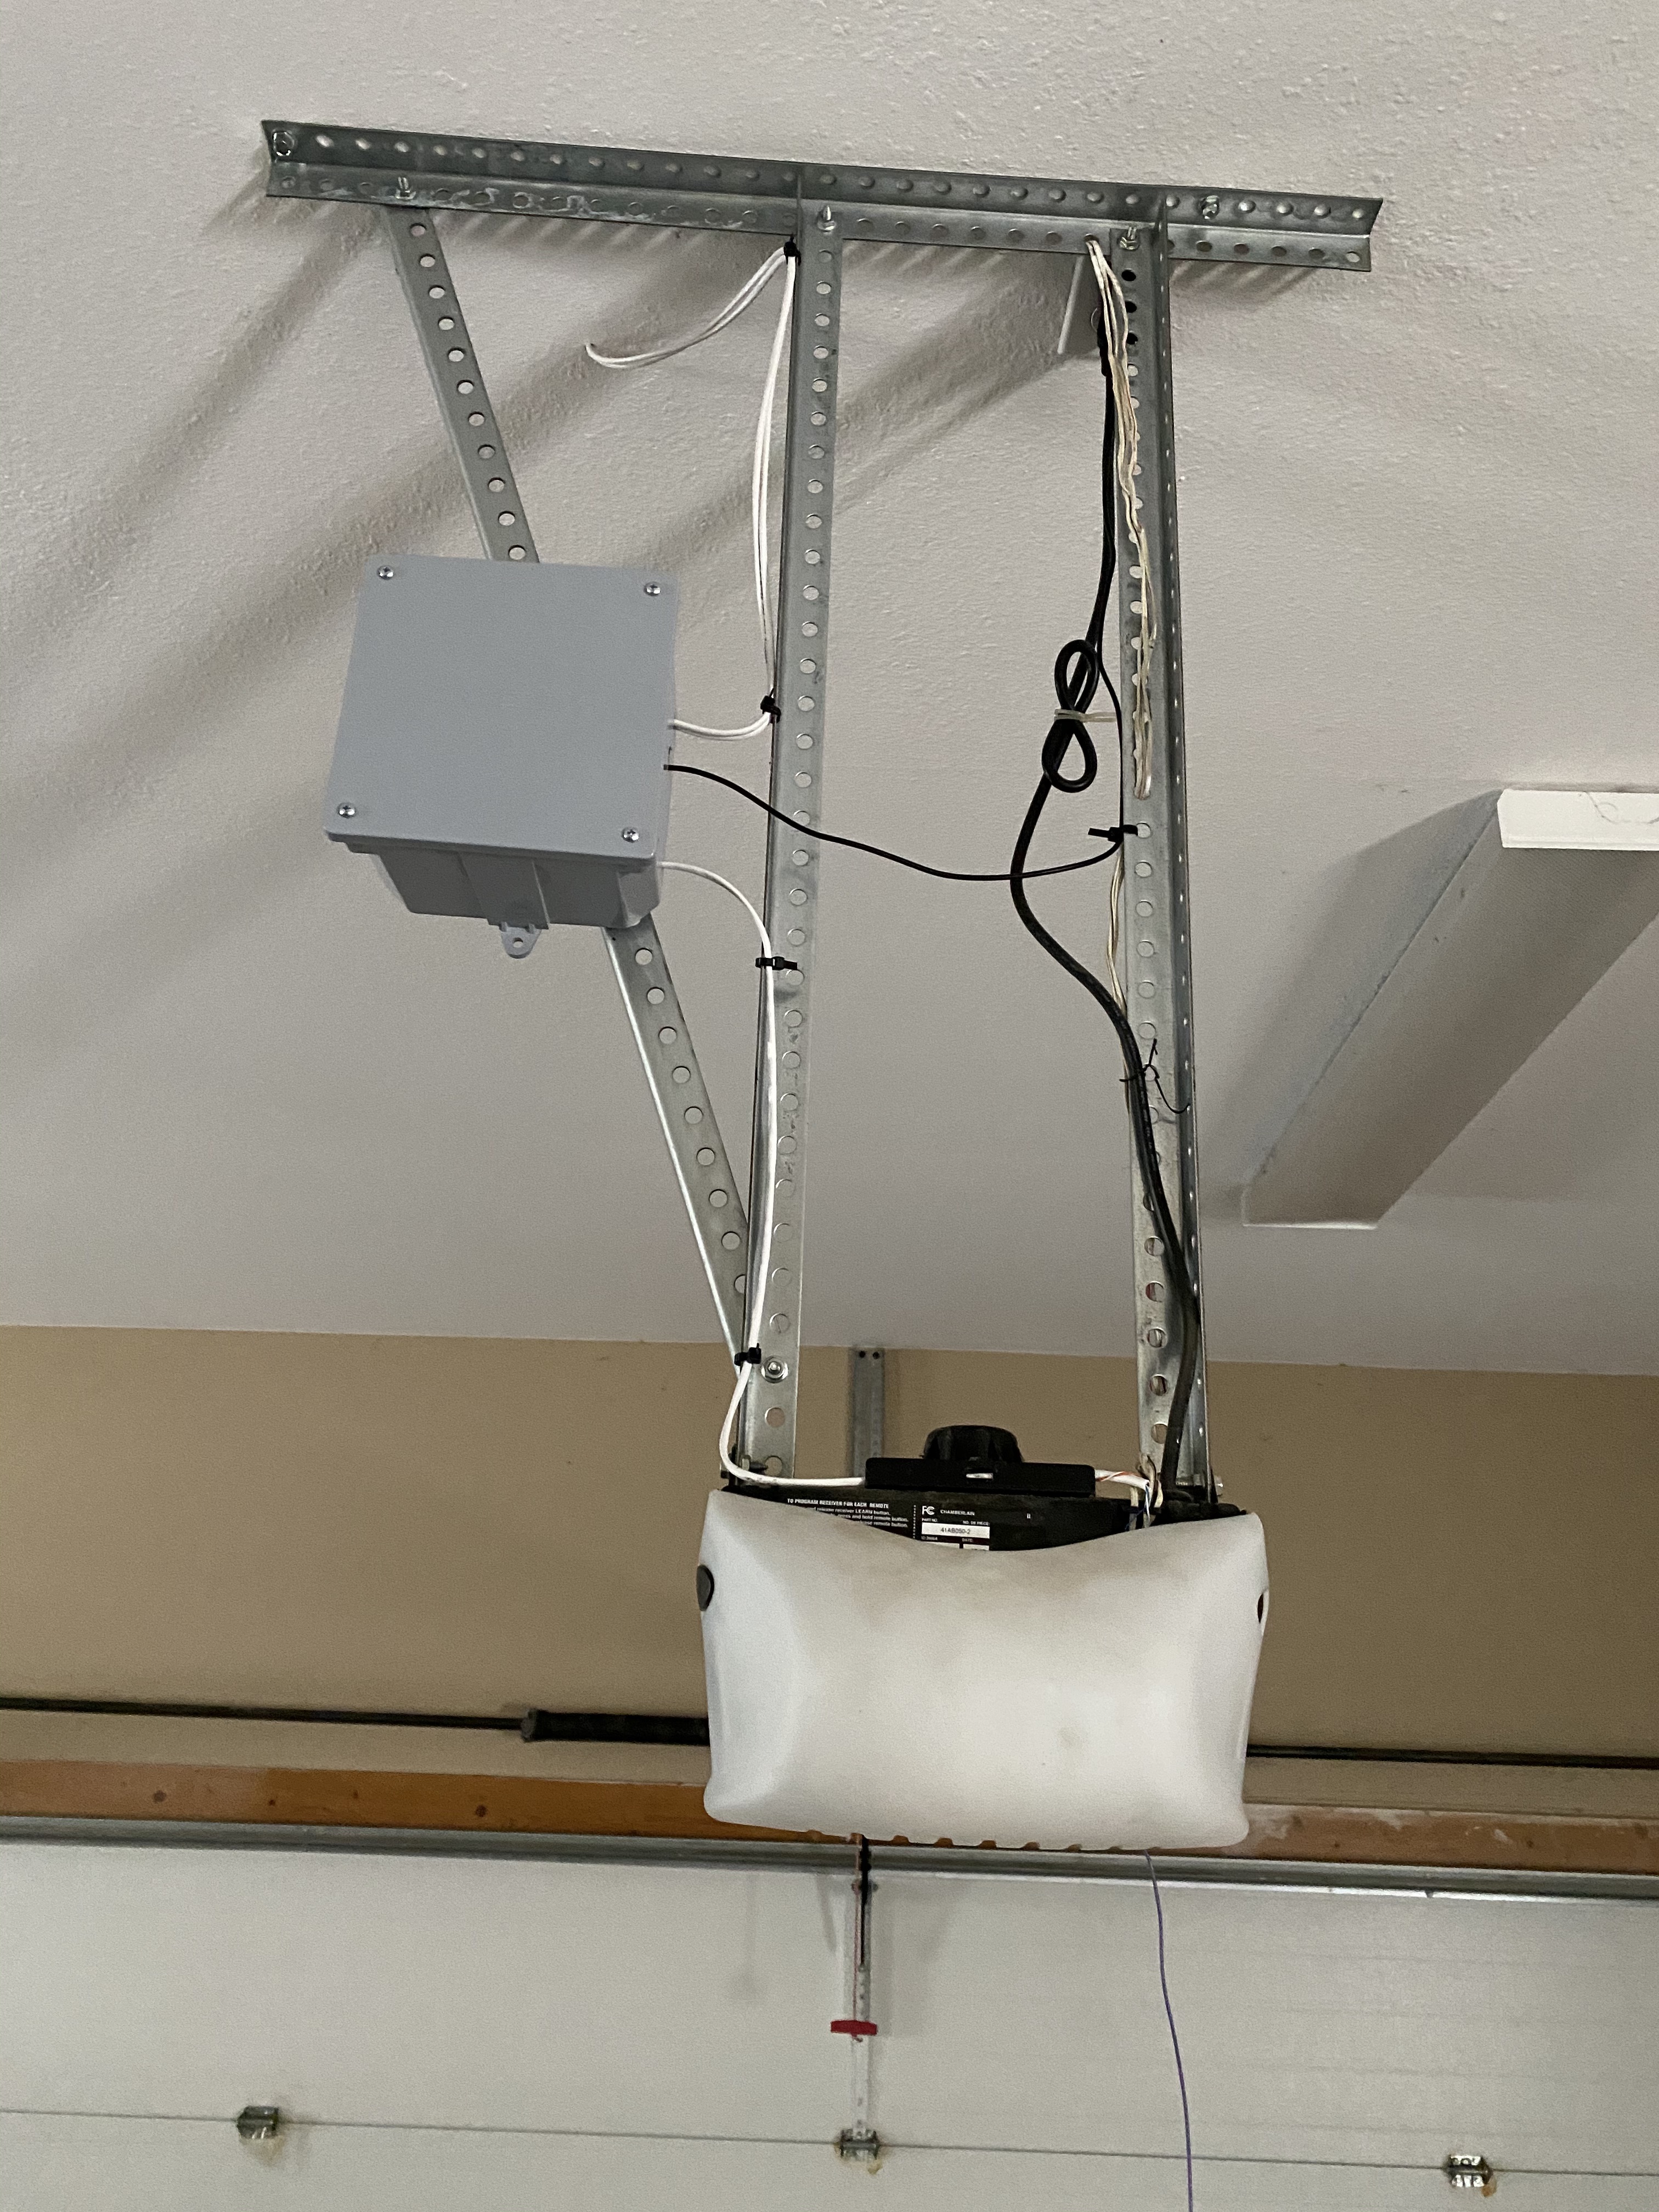
I mounted my board in an enclosed electrical box that I bolted to the hanging bars of one of the openers. Powered via a USB cable to the outlet above the opener. Sensors were wired between both doors to allow for single 4 wire run.
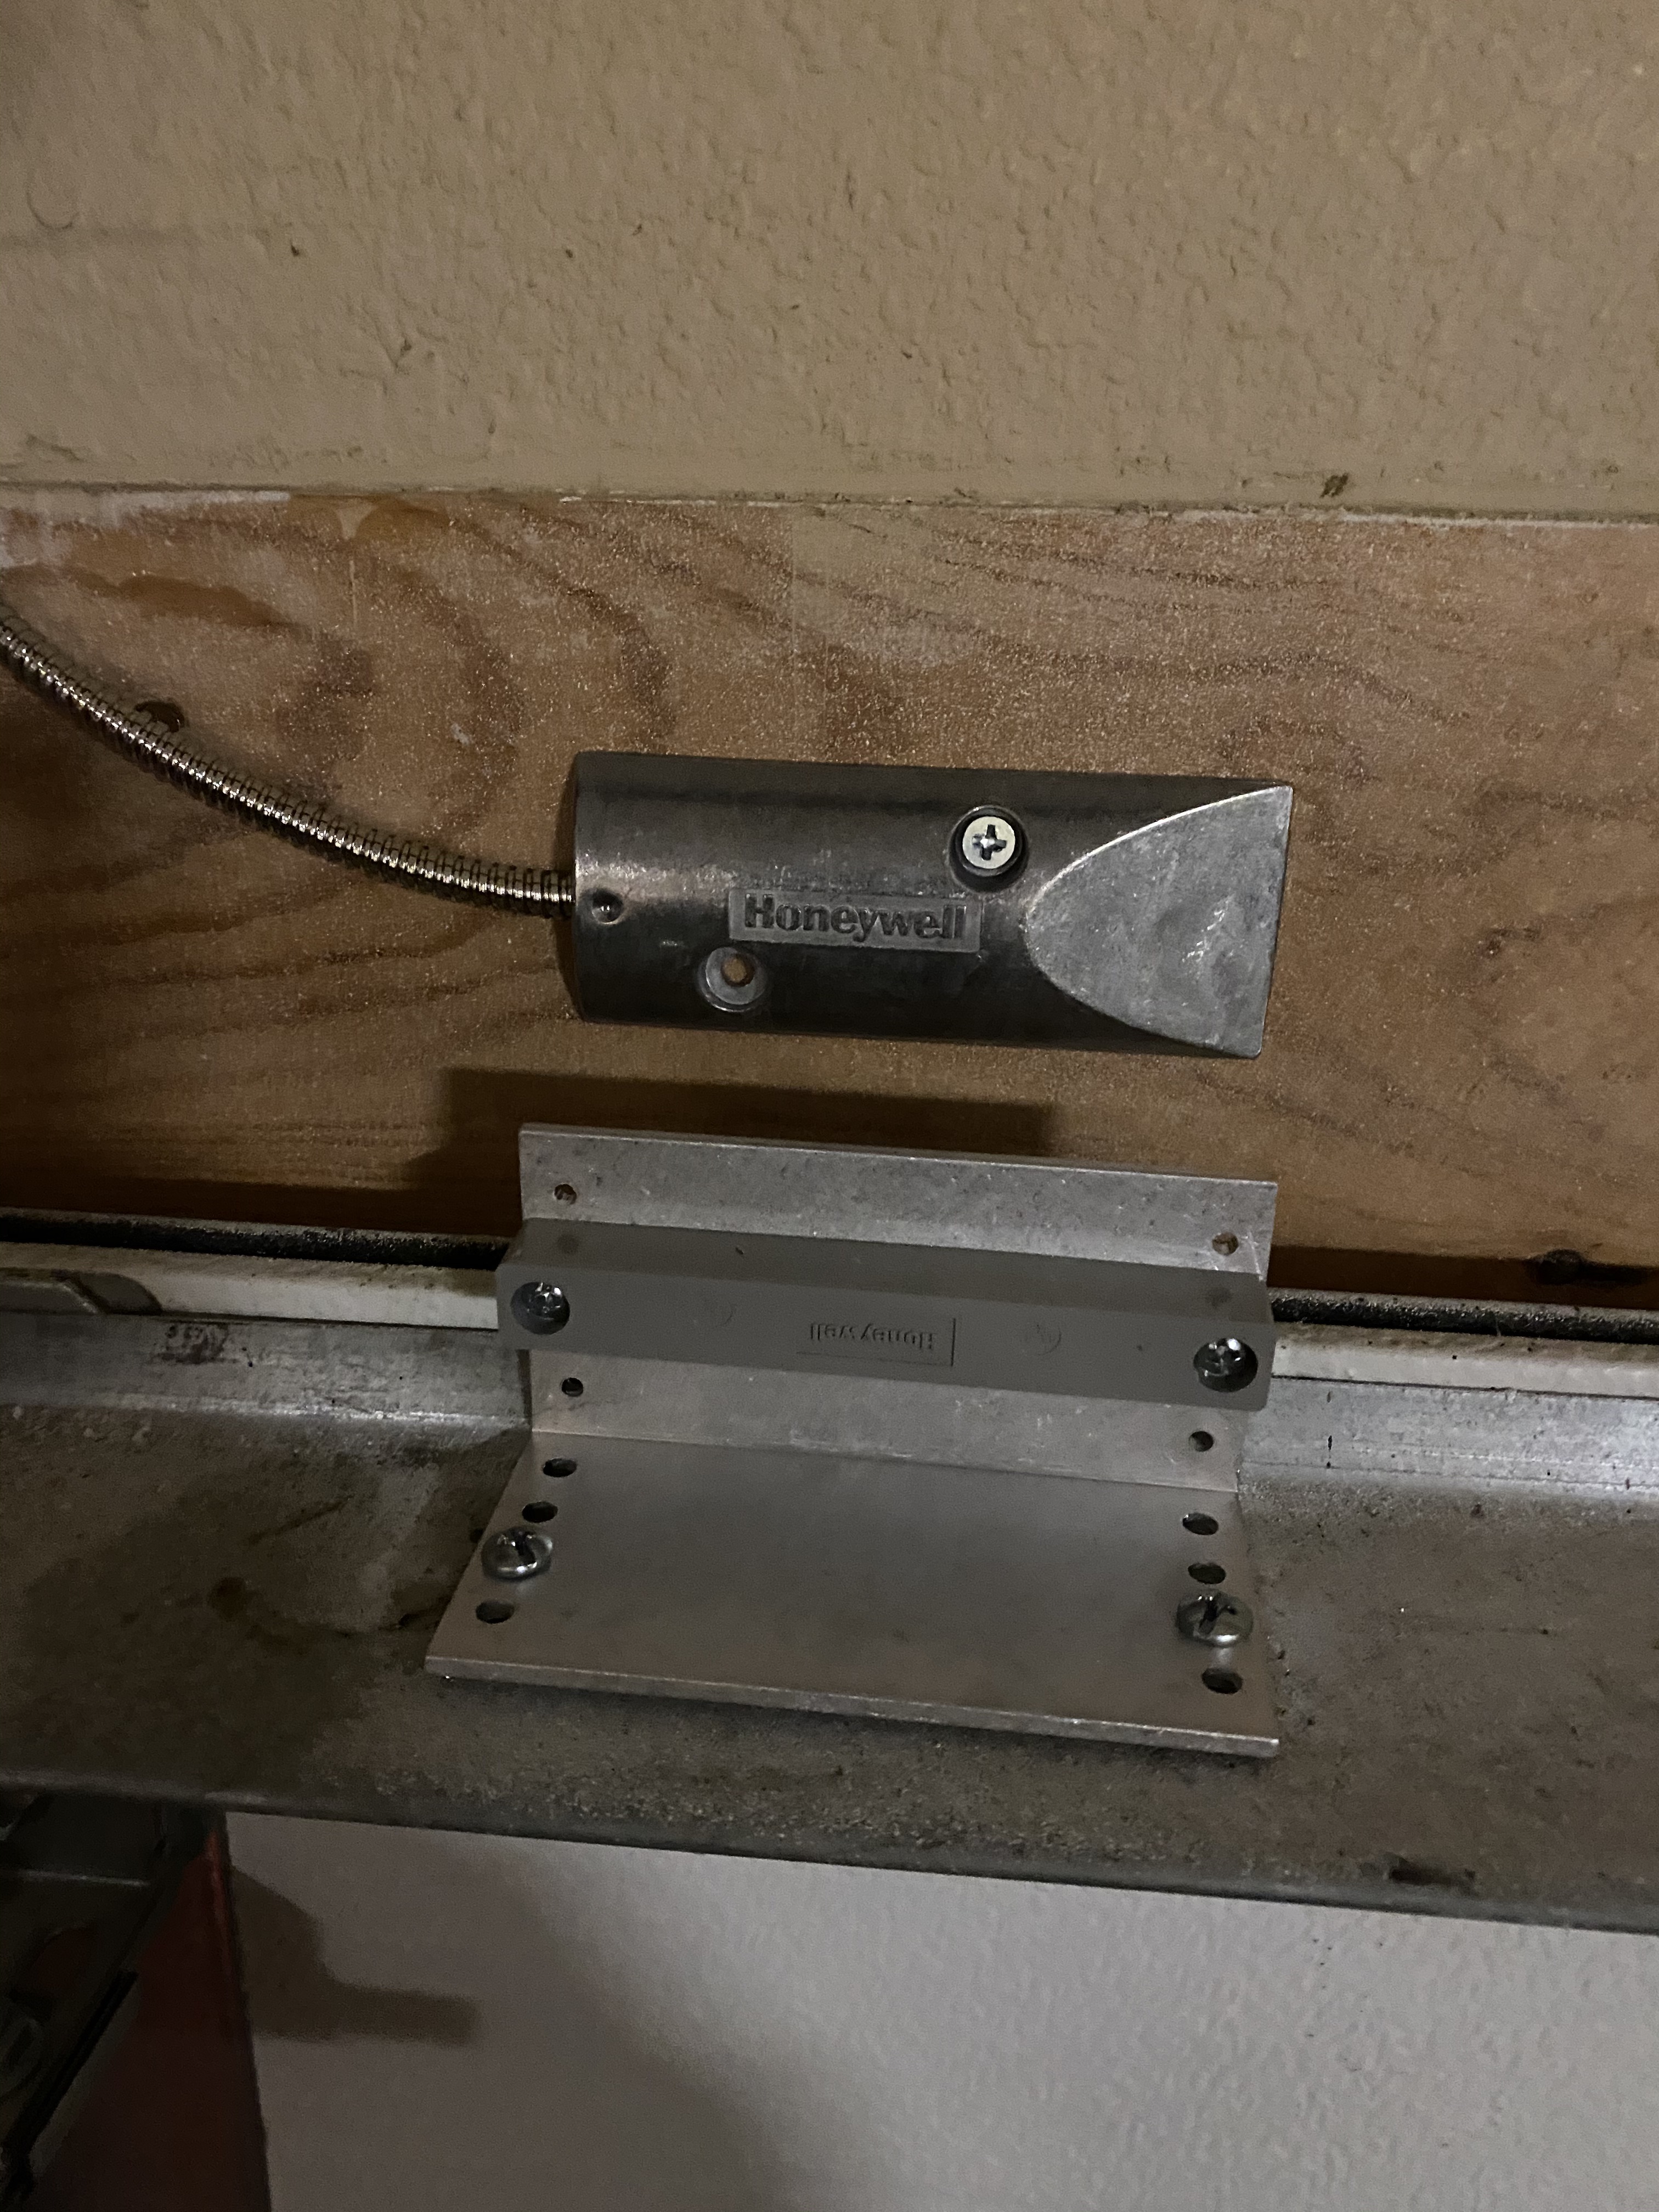
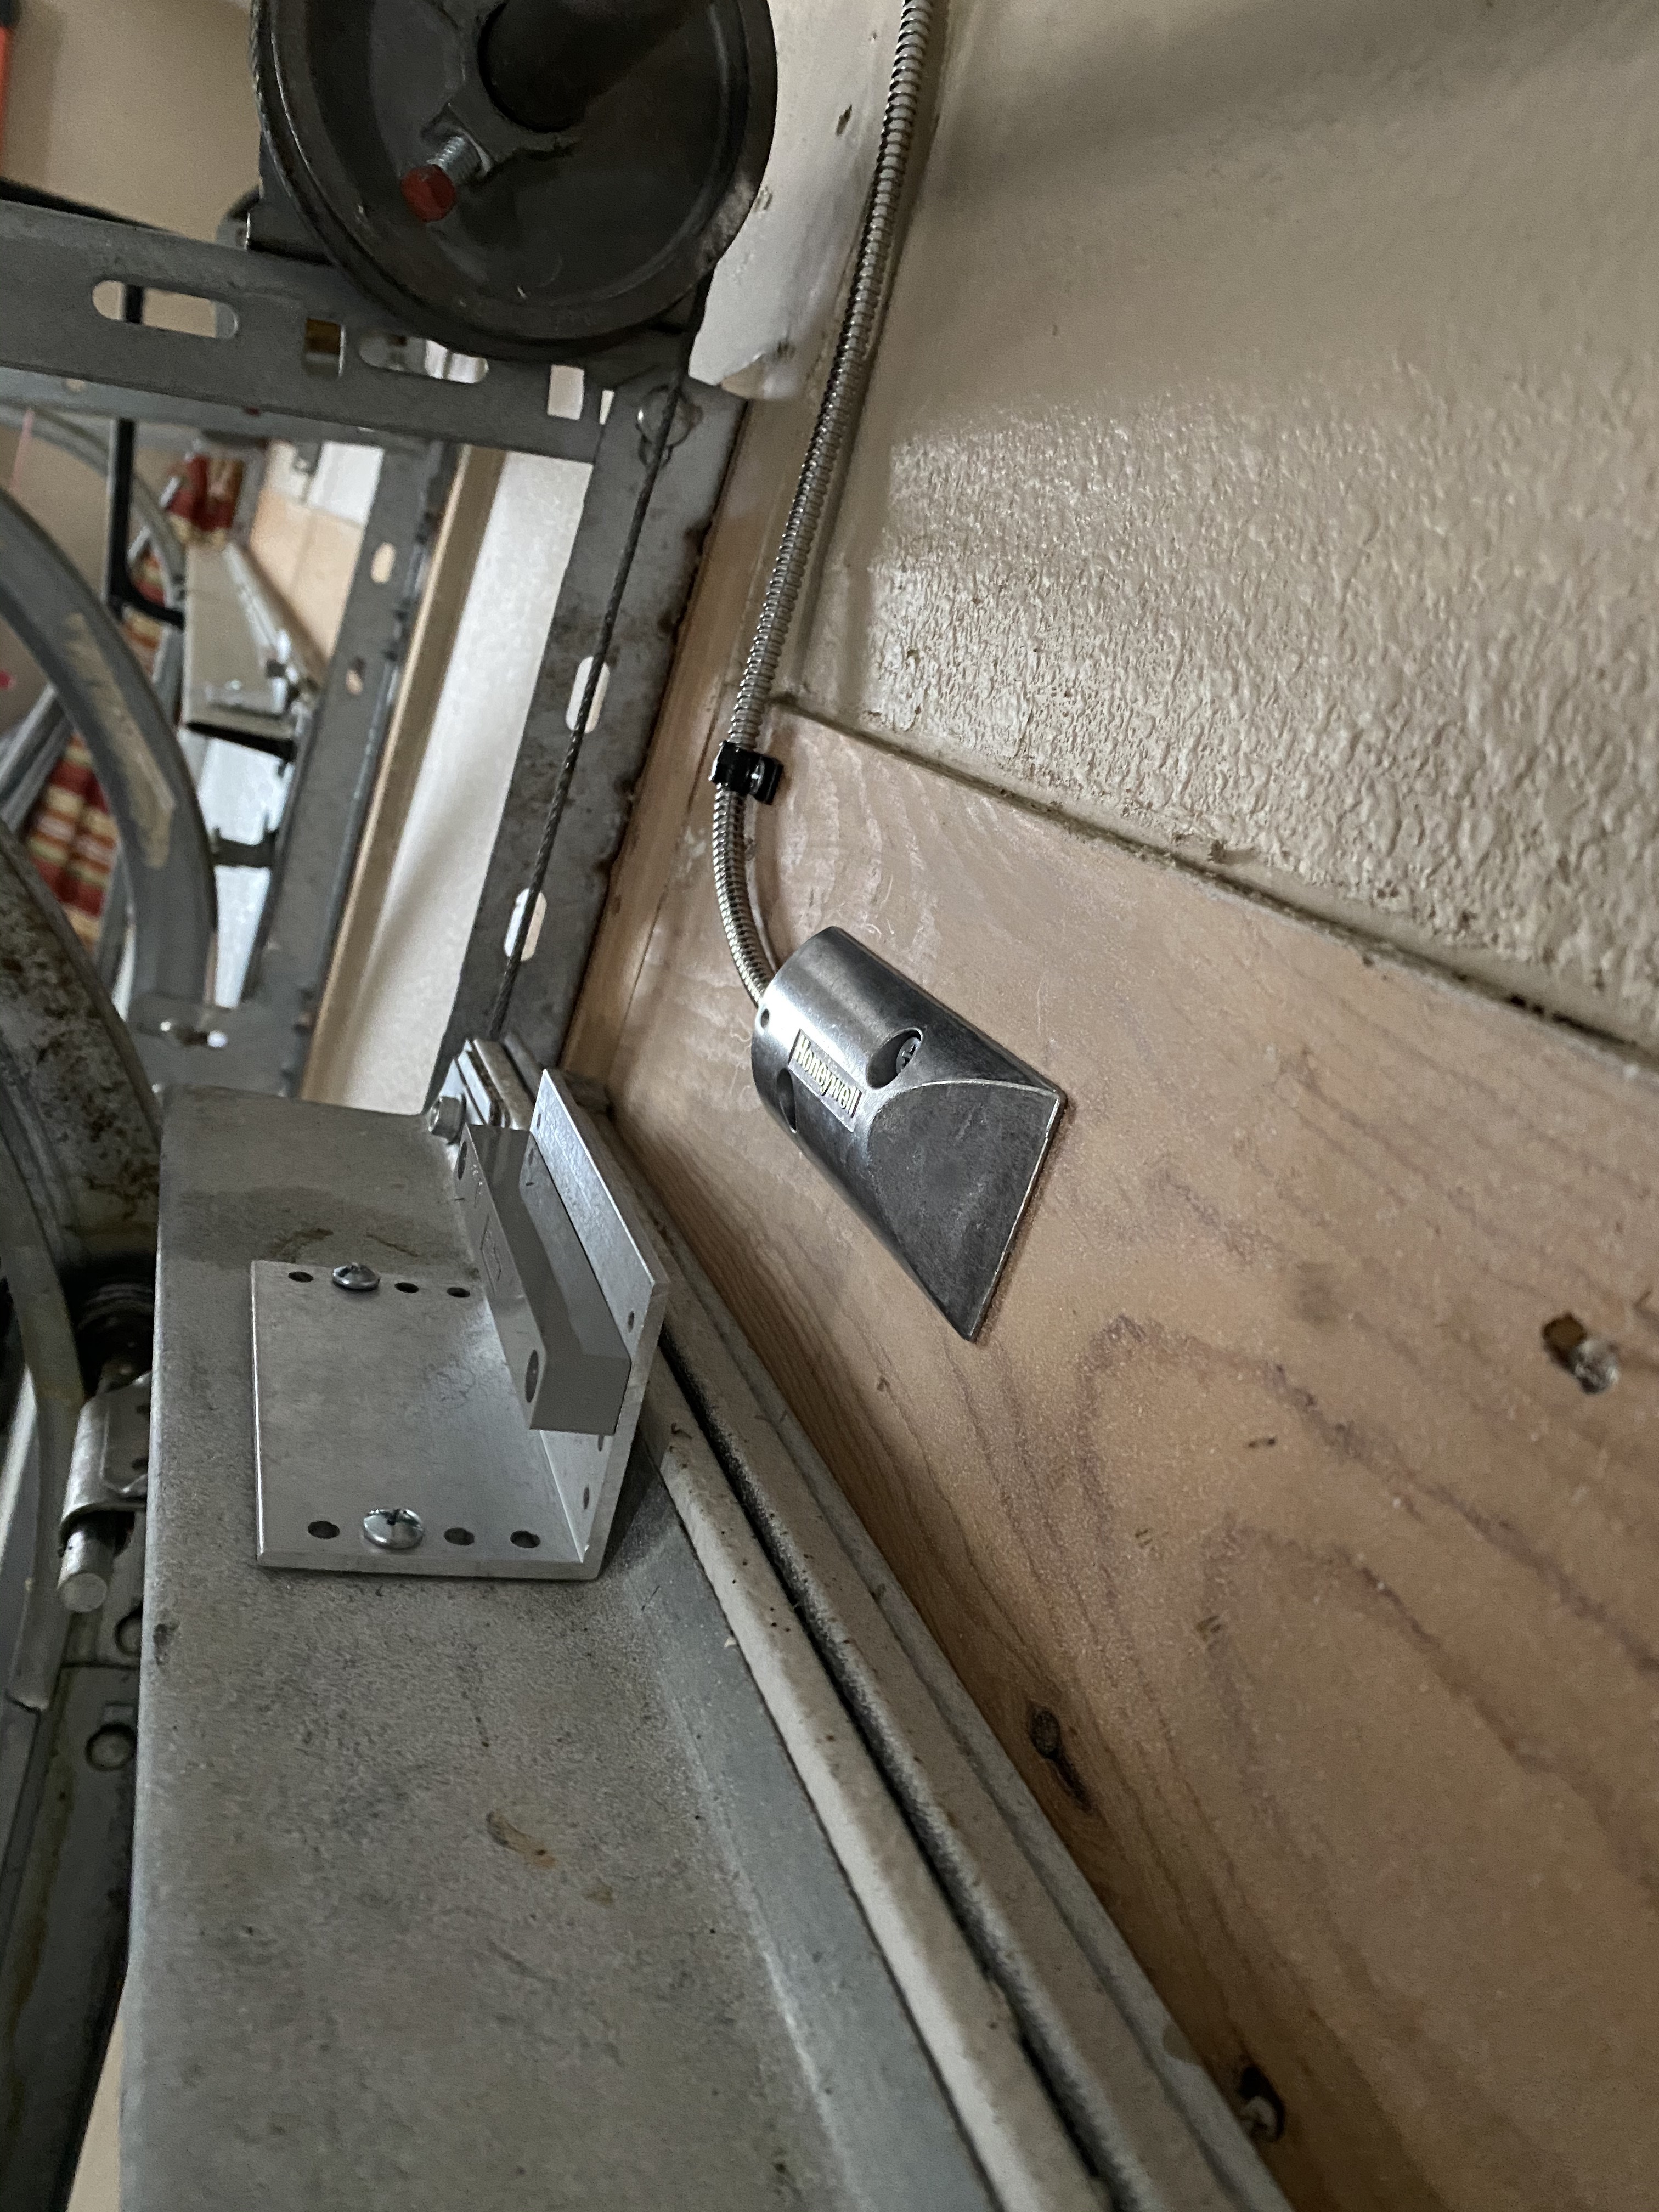
The Reed sensors I used from honeywell are made for Garage Doors and allow a few inches gap which made mounting easy. I drilled two holes in the top bar of the garage door and used machine screws to secure them to the top bar. Then I mounted the sensor to the wall across from the magnet.
- ESP32 Board with build in screw blocks and 4 relays. Could use any other ESP32 chip and relay as well. Link
- Honeywell Garage Door Reed Sensor - Link
Alternative Parts for board
- Relay 1 - GPIO21 - Double Door Opener
- Relay 2 - GPIO22 - Single Door Opener
- Relay 3 - GPIO18 (Unused)
- Relay 4 - GPIO19 (unused)
- Input 1 - GPIO05 (Unused, moved to input 3 when I had Open/Close Flapping)
- Input 2 - GPIO12 - Single Door Sensor
- Input 3 - GPIO13 - Double Door Sensor
- Input 4 - GPIO14
cards:
  - entity: cover.double_garage
    hold_action:
      action: more-info
    name: Double Car Garage
    show_icon: true
    show_name: true
    state_color: true
    tap_action:
      action: toggle
    type: button
  - entity: cover.single_garage
    hold_action:
      action: more-info
    name: Single Car Garage
    show_icon: true
    show_name: true
    state_color: true
    tap_action:
      action: toggle
    type: button
title: Garage Doors
type: horizontal-stack
cards:
  - entity: binary_sensor.double_garage_door_sensor
    hold_action:
      action: more-info
    name: Double Car Garage
    show_icon: true
    show_name: true
    state_color: true
    tap_action:
      action: call-service
      service: homeassistant.turn_on
      service_data:
        entity_id: switch.double_garage_door_switch
    type: button
  - entity: binary_sensor.single_garage_door_sensor
    hold_action:
      action: more-info
    name: Single Car Garage
    show_icon: true
    show_name: true
    state_color: true
    tap_action:
      action: call-service
      service: homeassistant.turn_on
      service_data:
        entity_id: switch.single_garage_door_switch
    type: button
title: Garage Doors
type: horizontal-stack
Docker - esphome/esphome:dev
docker run -d -v "/LOCAL/PATH/esphome/config:/config" --net=host esphome/esphome:dev
- ESPHome Flasher - Used to flash initial config to ESP32. Used this utility on a Mac and it required extra drivers installed for serial to USB.
- Drivers - Installed these drivers to make the Serial port show up when connecting as USB to Mac.


