What type of content do you primarily create?
After spending countless hours filming, editing, and then editing some more, you’ve finally finished your new video. Now it’s time to share your creation with the world.
Here’s how to upload your video to one of the internet’s many video-sharing platforms and create a video link people can click on to see your work.
How to make your video shareable in 4 easy steps
Whether you’ve created the director’s cut of your new film or you just like to record video clips of your cat, it’s easy to send video content to other people online. Just follow these four steps.
Step 1. Upload your video to a video-sharing platform
The internet is full of useful platforms that let you upload videos. YouTube is the most popular option, followed by social media platforms like Facebook, Instagram, TikTok, Twitter, and Snapchat.
Cloud services like Dropbox and Google Drive are another option if you’re looking for features like more secure file transfer and control over who sees your video.
And, of course, another way to share your work is with Descript: just click the “Publish” button in the upper right corner and choose your desired video-sharing platform.
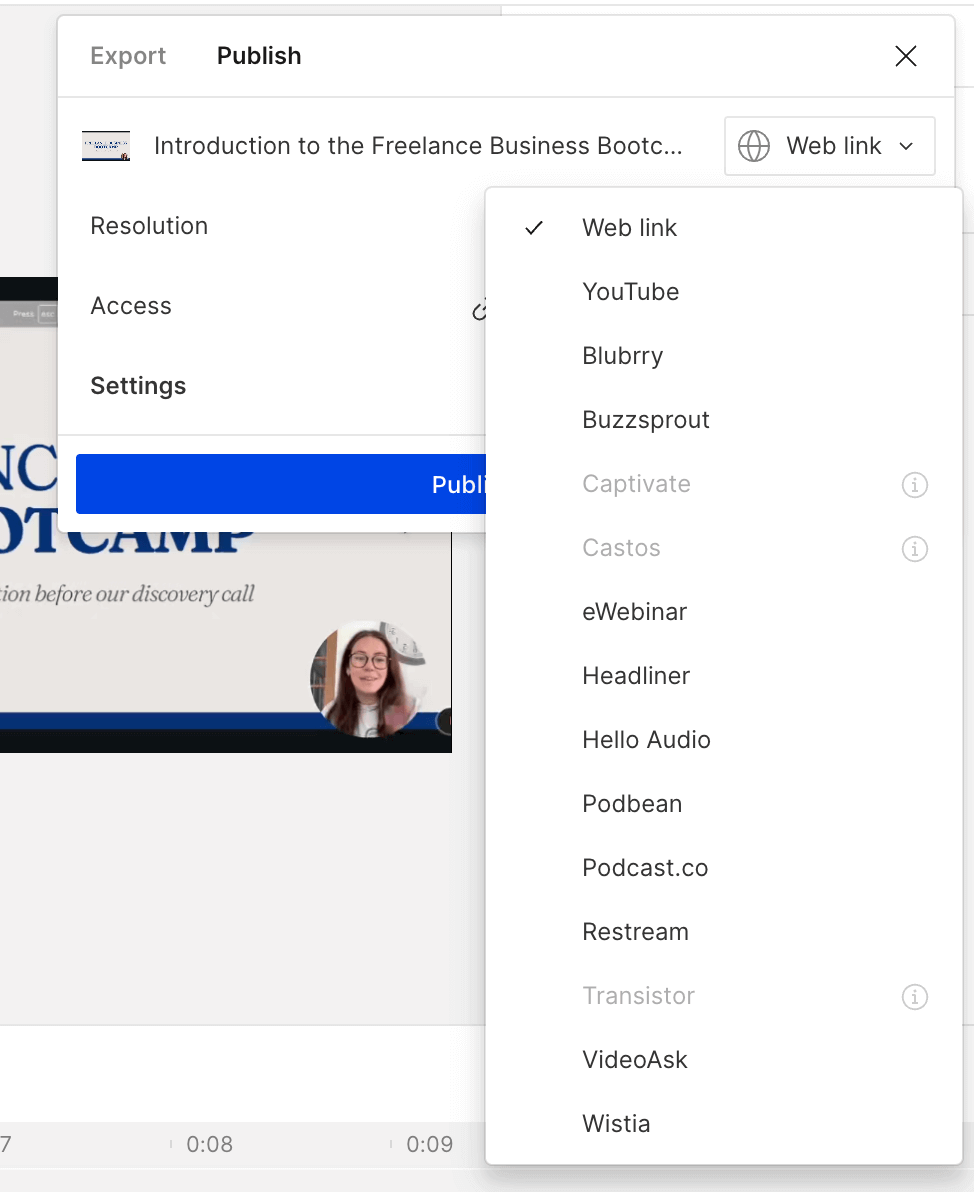
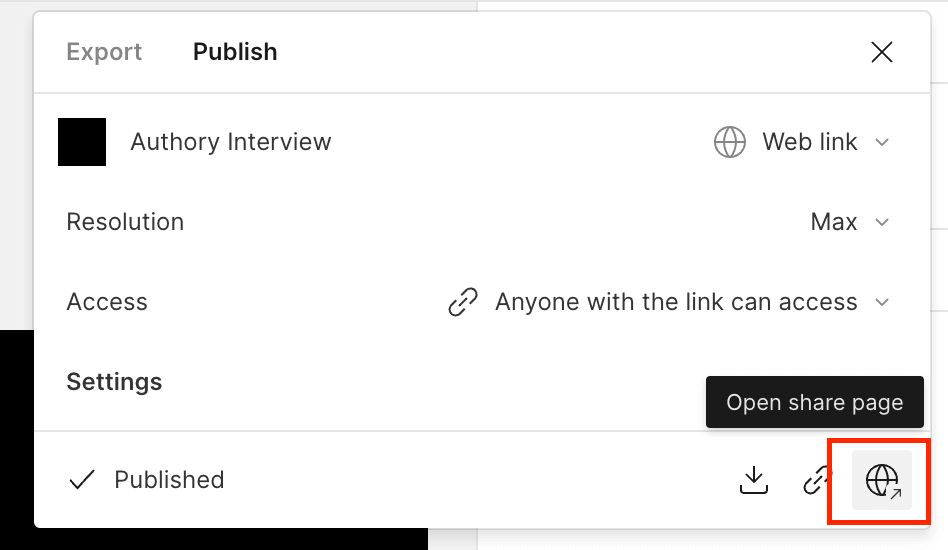
Better yet, you can even publish to a Descript page to share with specific people. Click “Publish,” then click the “Open share page” icon to open up a page.
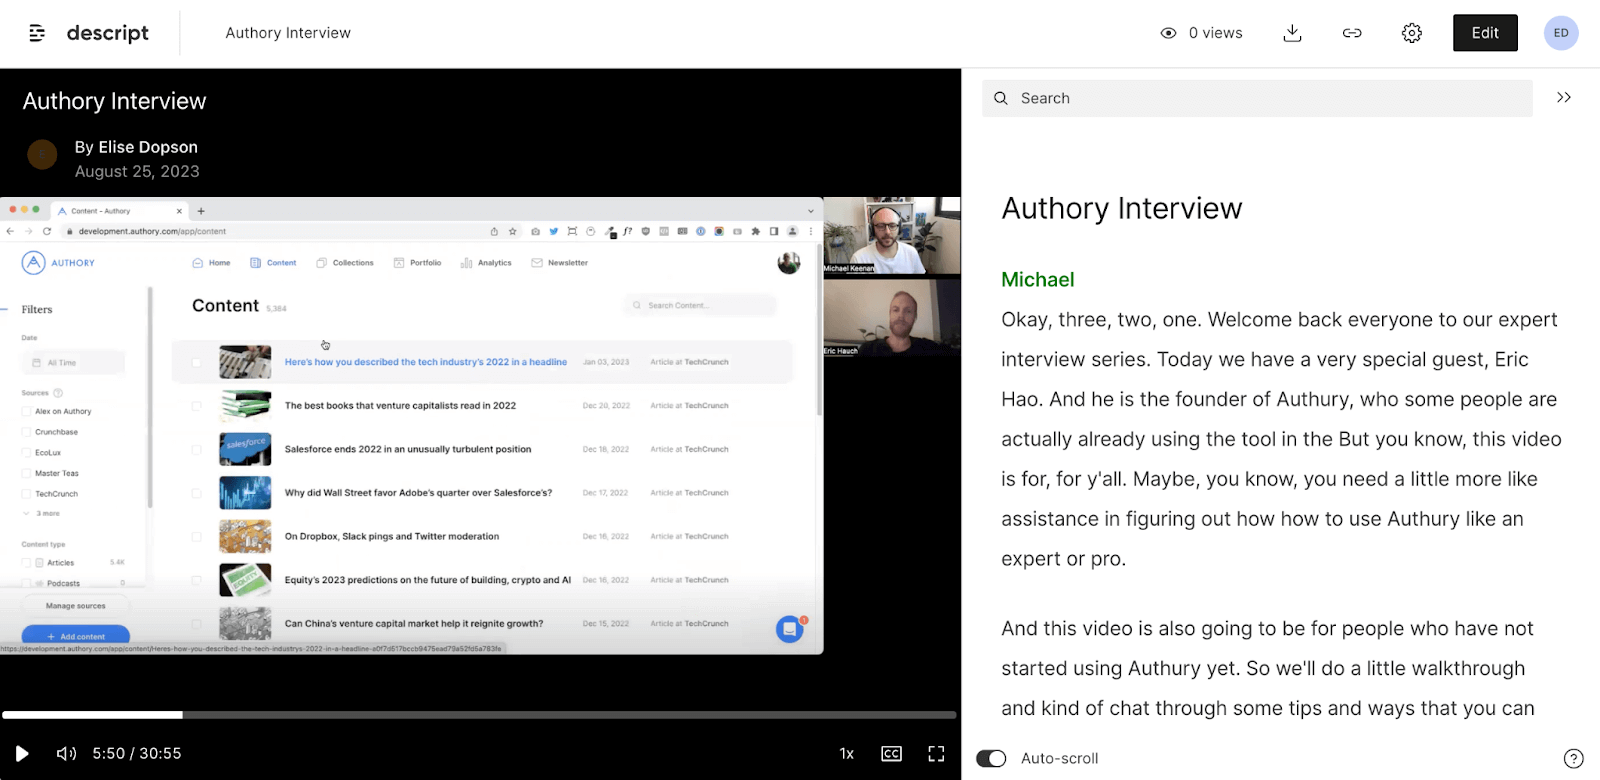
Here’s what your video looks like in the browser.
Step 2. Create a video URL
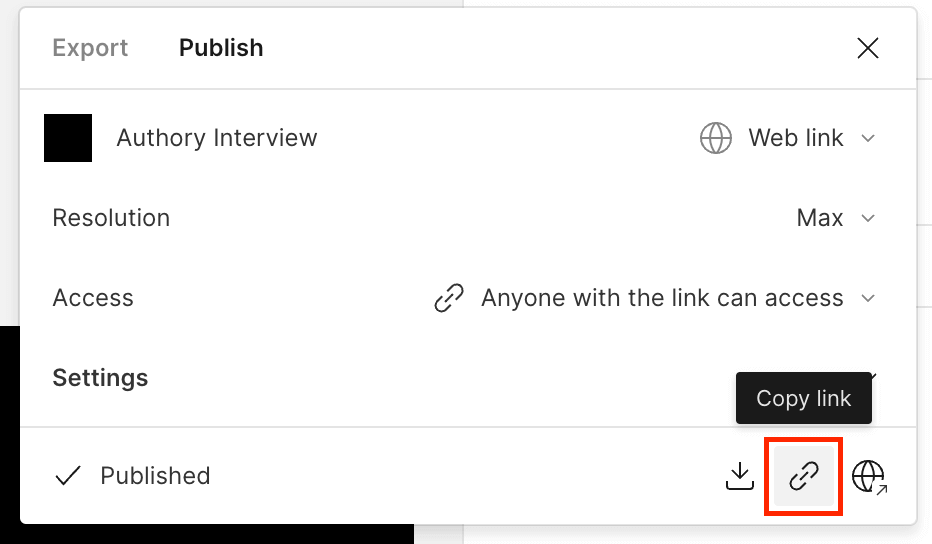
Most video-sharing platforms make it easy to create links for your videos. In Descript, you’ll get a link the moment your video is published. YouTube and social media sites also make creating a link pretty straightforward.
Step 3. Use a custom link service (optional)
The video URL created by your hosting platform will contain a random string of characters. If you want, you can customize the link with URL shortening services like Bitly, TinyURL, or Sniply.
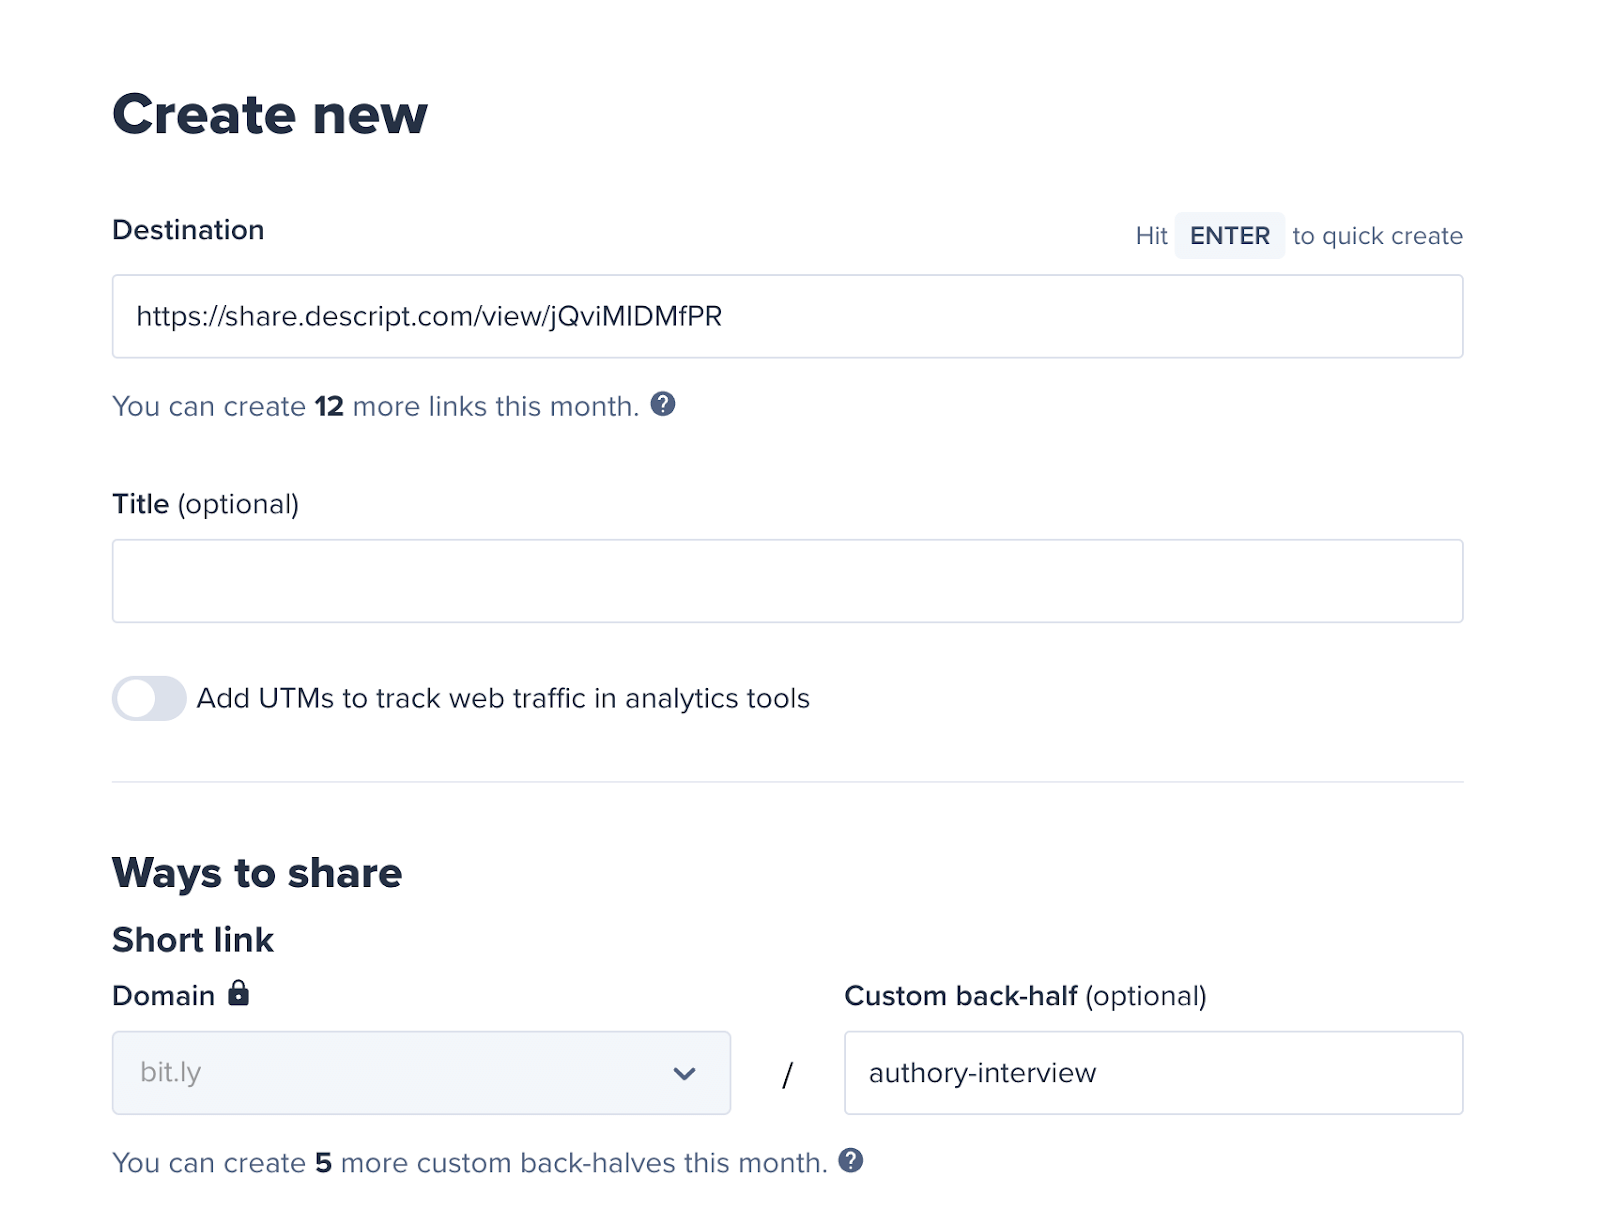
These services also allow tracking the link's traffic — you can see how often people click on it and where they're located. This makes it easy to track videos you produce and see whether or not they're generating interest. If they're not, it's okay. We still believe in you.
Step 4. Share your video with the world
Finally, it’s time to share links far and wide. You can put your video URL in a social media post or an email newsletter as part of a call to action. If you only share the video with collaborators, copy and paste the link into a text message or email.
How to create a video link for social media
Creating video links for social media platforms like YouTube, Facebook, and TikTok comes in handy when distributing your content. Here’s a quick walkthrough for each platform:
How to create a video link for YouTube
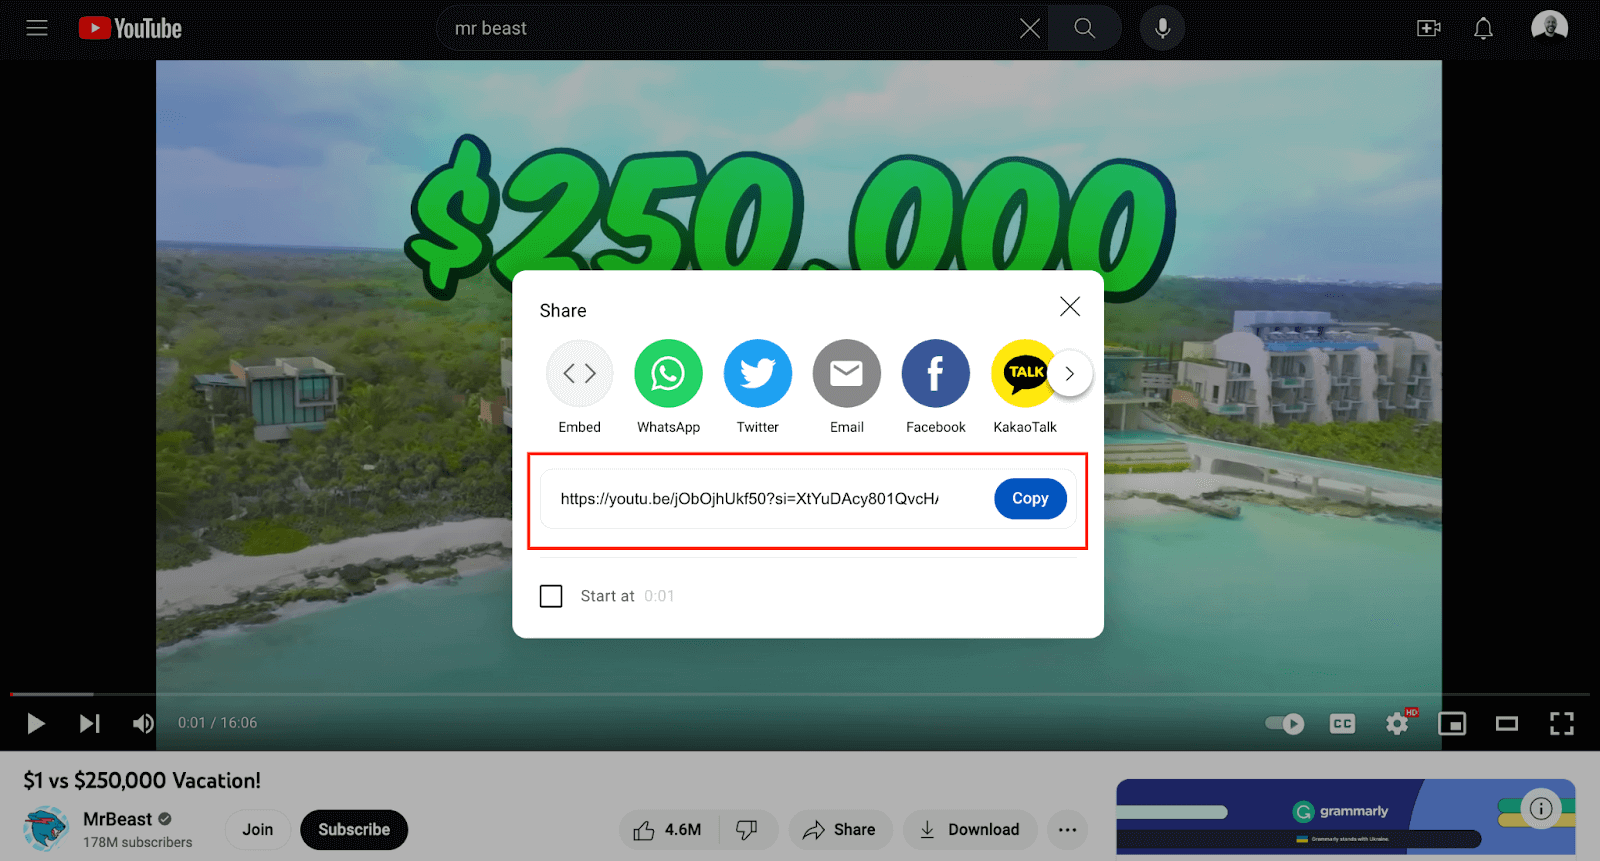
- Log in to your YouTube channel dashboard: First, navigate to the YouTube video you wish to share.
- Click on share: Located right below the video player, you'll find the “Share” button. Clicking on this opens several options. For example, you can embed the video or share it via platforms like WhatsApp or Facebook.
- Click on Copy Link: If you want to convert video content into a link directly, select the 'Copy Link' option.
How to create a video link for Facebook
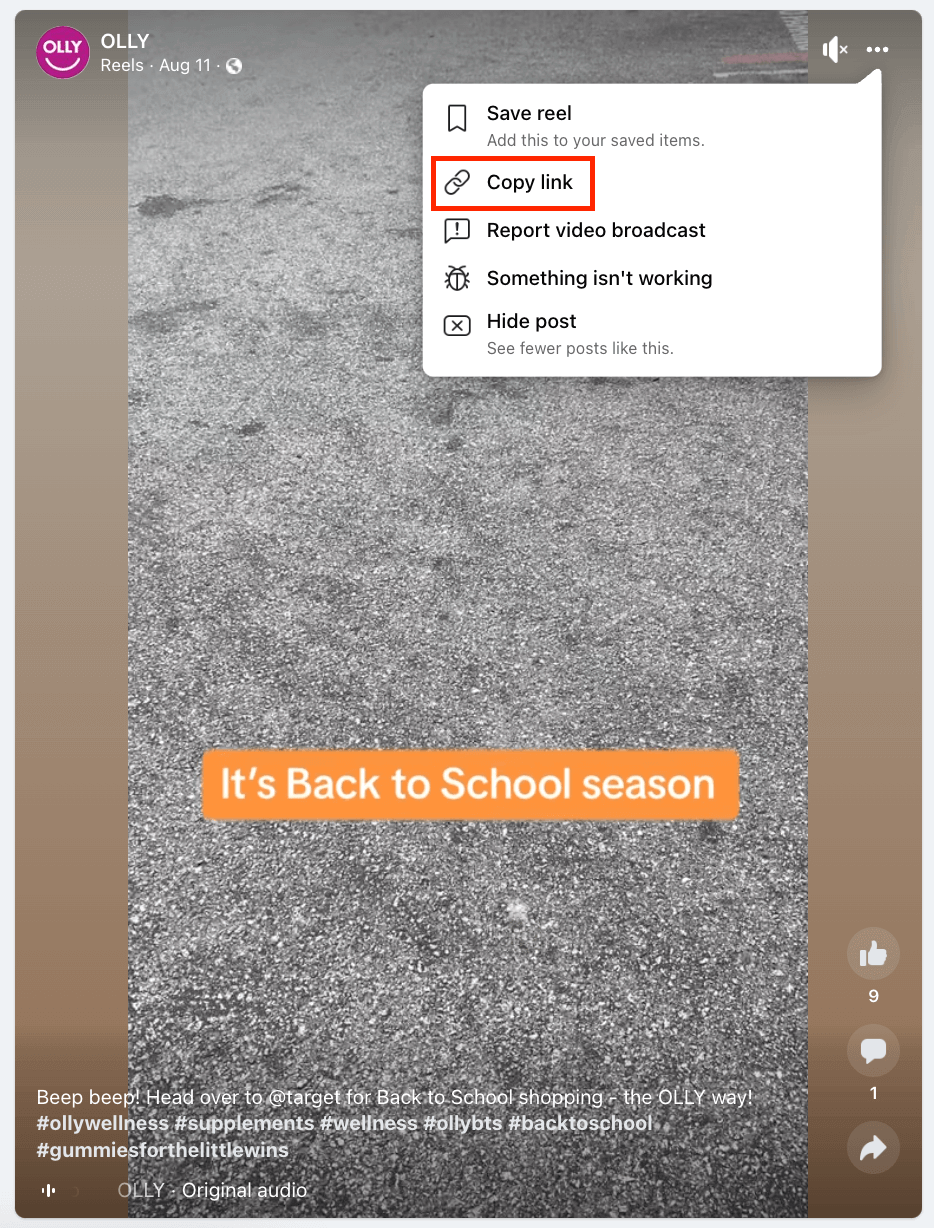
- Navigate to your video: Start by opening Facebook and find the online video you'd like to share.
- Click on the three dots: On the top right of the video, you'll see three dots. Clicking on this will give you various options.
- Select Copy Link: This will convert video content on Facebook into a sharable link format.
How to create a video link for TikTok
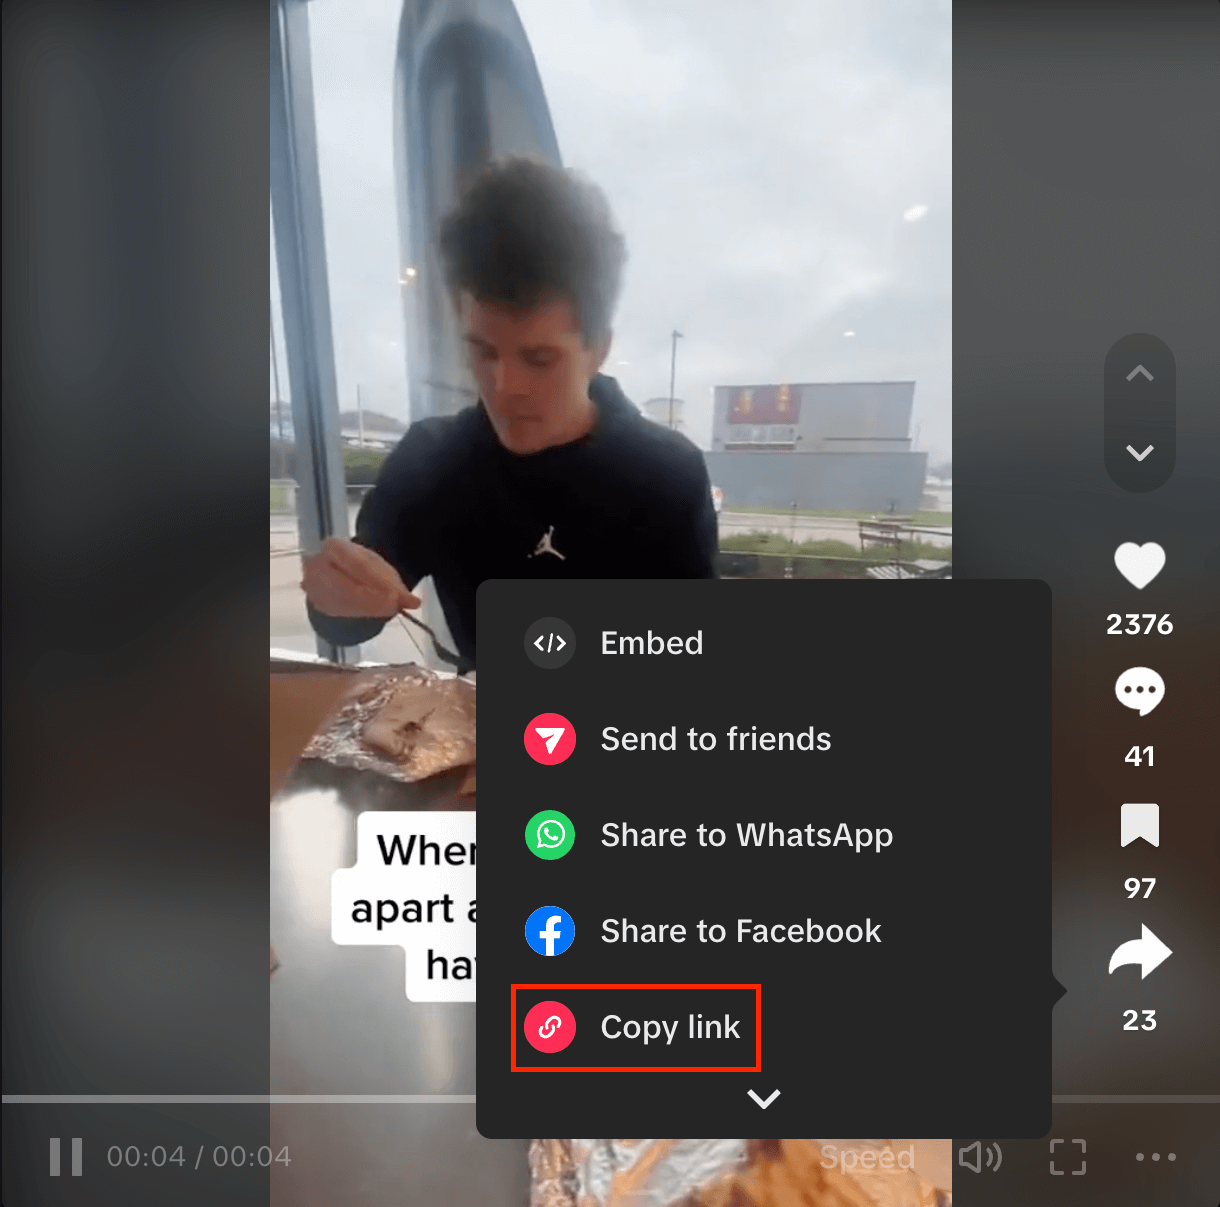
- Open the TikTok app: Navigate to the TikTok video you want to share.
- Press the share icon: This is the arrow pointing right on your screen.
- Choose 'Copy link': This allows you to share videos from TikTok in link form with your audience.
How to create a video link via cloud services
Using cloud services to store and share videos is another easy way to keep your content accessible, secure, and easy to share. They provide a lot of storage and intuitive dashboards that simplify creating video links.
Here's how:
How to create a video link with Google Photos
- Upload your video: Start by uploading your video to Google Photos. Navigate to the platform, click the '+' icon, and select 'Upload.’ Choose your video file from your device.
- Open the video: Once uploaded, find and click on your video within Google Photos.
- Click on the Share icon: Located typically at the bottom or top right, the share icon resembles a connected dot and arc.
- Select 'Create Link': A pop-up menu with various sharing options will appear. Choose 'Create Link,' and a unique link will be generated for your video. You can now share this link as desired.
How to create a video link with Dropbox
- Upload your video: Access Google Drive and locate the '+ New' button on the left sidebar. Select 'File upload' from the drop-down and choose the desired video from your device.
- Locate your uploaded video: Navigate to the folder or location where you've uploaded your video. Click on the video file to open it.
- Click on the three dots for more options: Find the three dots icon on the top right of the interface. This will open a menu with various options.
- Select 'Copy Link': Click on 'Copy Link' from the expanded menu. This action will generate a unique link for your video, which you can share with your desired audience.
How to create a video link with Google Drive
- Initiate upload: Access Google Drive and locate the '+ New' button on the left sidebar. From the drop-down, select 'File upload' and choose the desired video from your device.
- Right-click on your video: After your video has been uploaded to Drive, find it in your list of files. Right-click on the video's name or thumbnail.
- Navigate to 'Get link': From the context menu, hover over to 'Get link'.
- Adjust permissions and copy link: By default, your video may be set to restricted. If you want others to view it, change the setting to 'Anyone with the link'. After adjusting permissions, click 'Copy Link' to obtain the shareable link.
3 best online video converters
Sometimes your video format is only compatible with some platforms or devices. The solution? Online video converters. Let's look at three of the best options to try.
Freemake
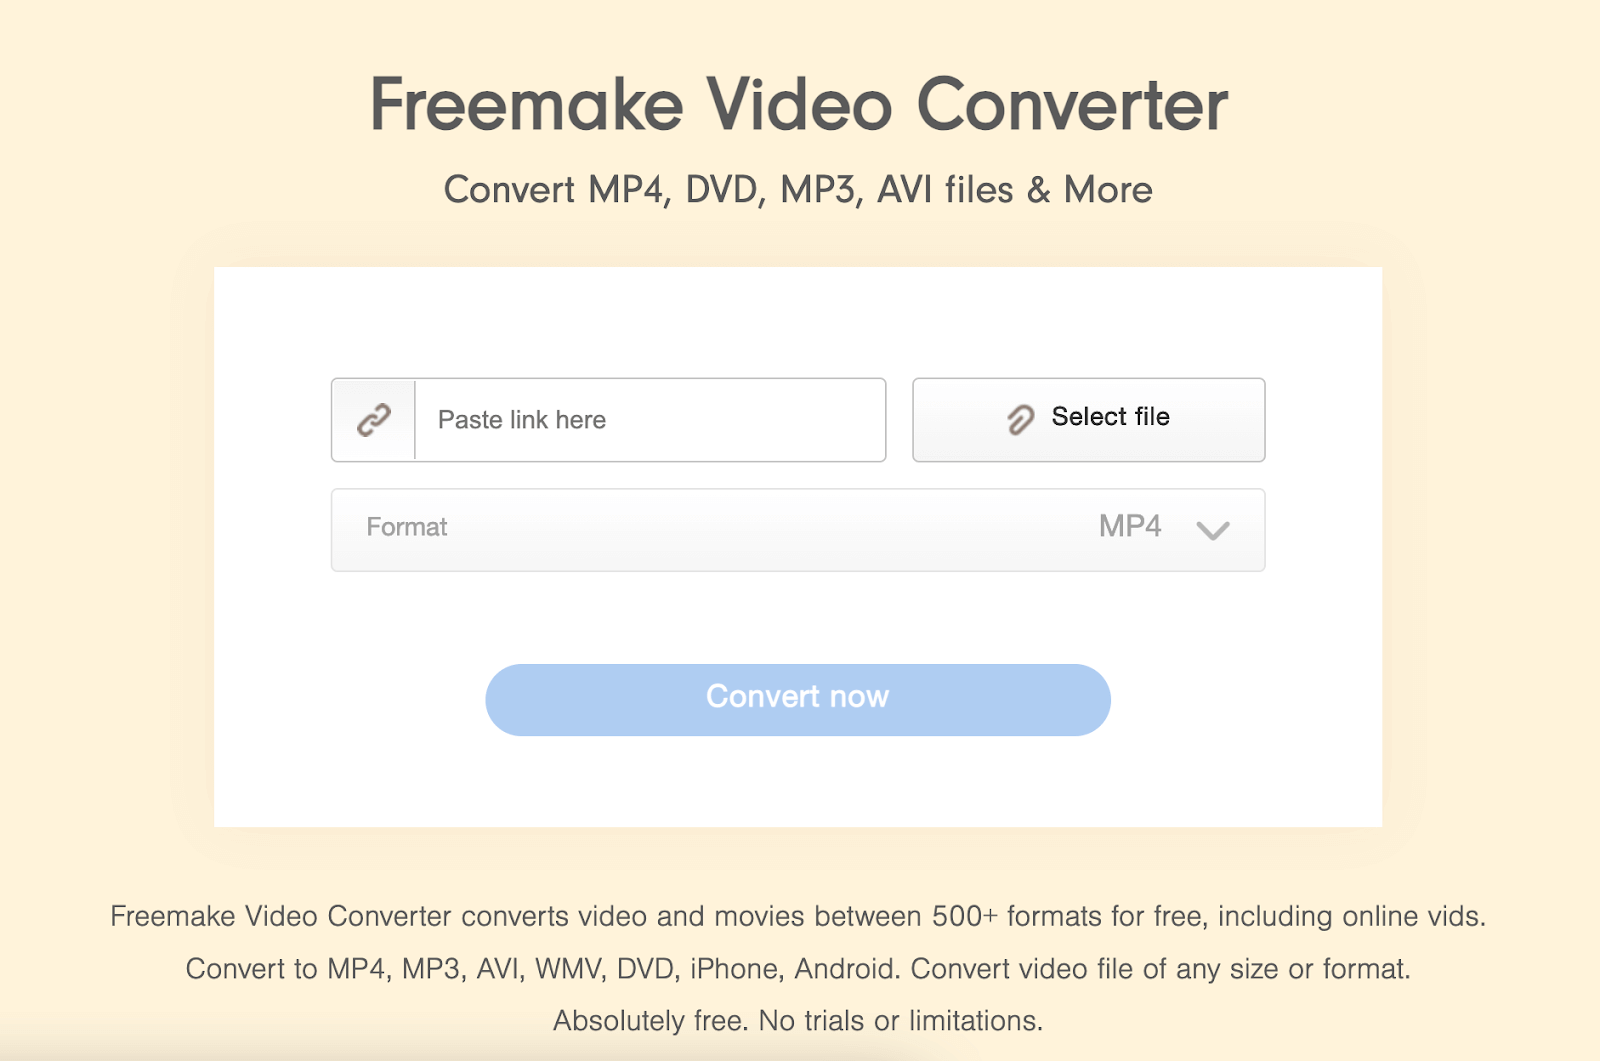
Freemake is a free software that lets you convert video and audio files into various formats. It also lets you convert videos from online platforms. You can also go beyond its free online tool and download software without registration, limitations, or hidden costs.
Freemake also offers basic video editing features and supports a wide range of input and output file types. If you need to quickly change the format of your video, Freemake is a great option.
How it works:
- Upload your video to the Freemake platform. You can upload a video file or paste the link of an online video you want to download.
- Choose your desired output and apply any basic edits as needed.
- Click “Convert now” and Freemake will convert your video, making it ready for download in your desired format.
Pros:
- Easy to use interface for beginners.
- Additional editing features.
- Supports over 500 formats.
Cons:
- Free version includes a watermark at the end.
- Limited editing features.
Movavi
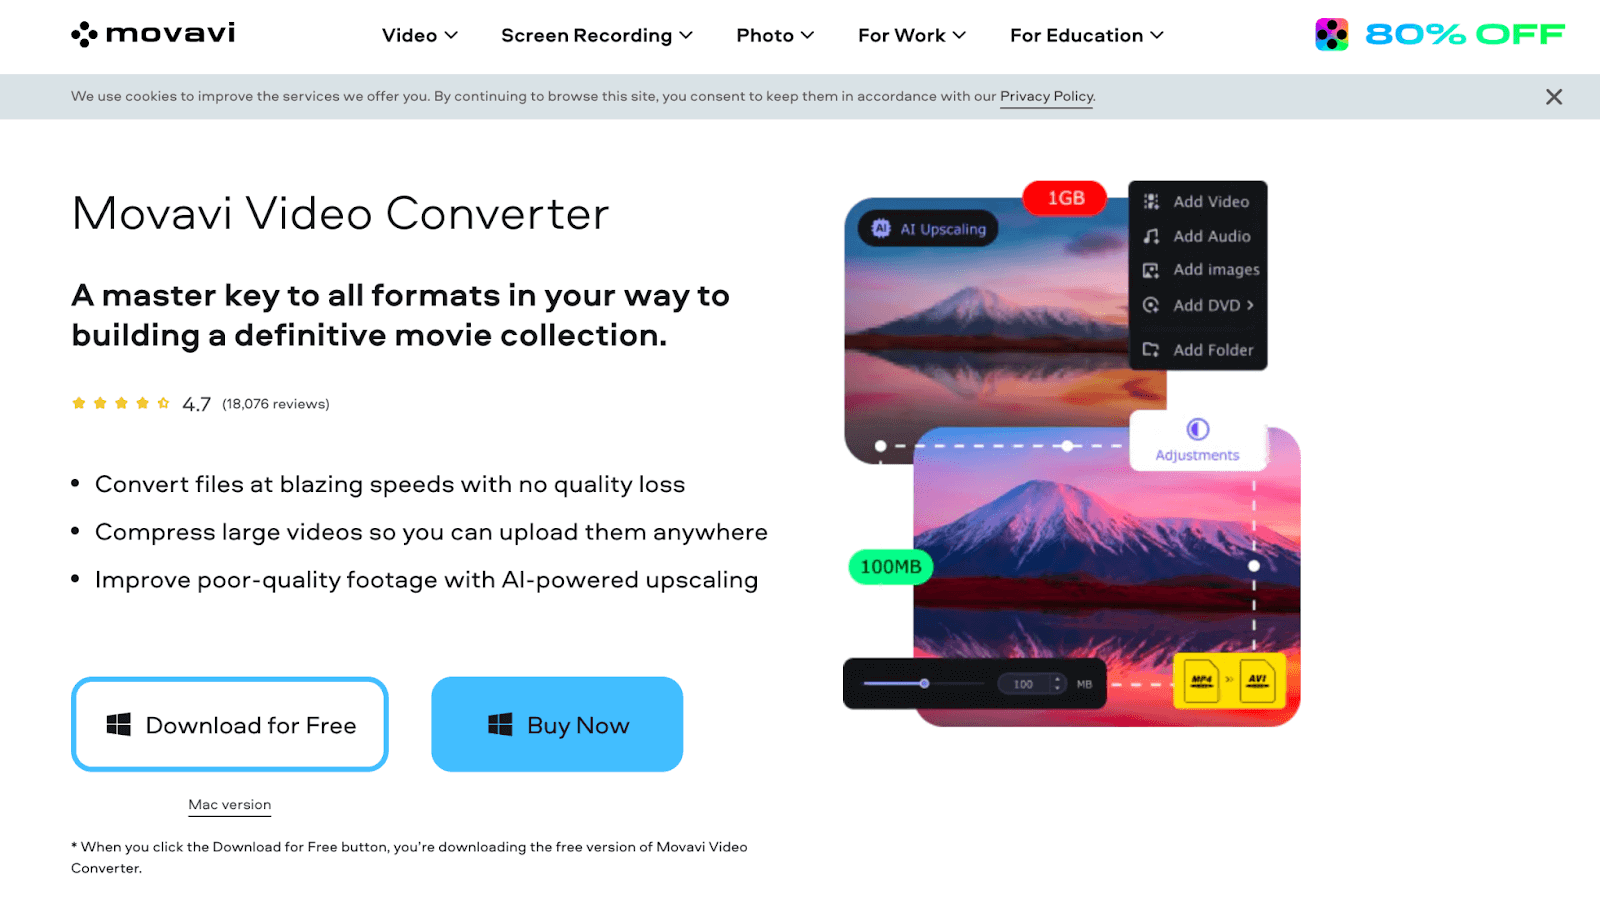
Movavi has a few web-based tools, but if you want the bells and whistles, you’ll need to download the free video converter. Movavi’s video editor is also available for download on Windows desktops. It also has an iPhone app you can download if you’re on iOS.
How it works:
- Drag and drop your video into the Movavi video converter.
- Choose from over 180 video formats (like MP4, AVI, MOV) to convert your file.
- Start the conversion, and your video will be available in the selected format in a matter of moments.
Pros:
- Super fast conversion speeds.
- High quality conversions.
- Batch uploading and converting.
Cons:
- Software installation required.
- Paid version has advanced features.
- Desktop tool only available for Windows.
MediaCoder
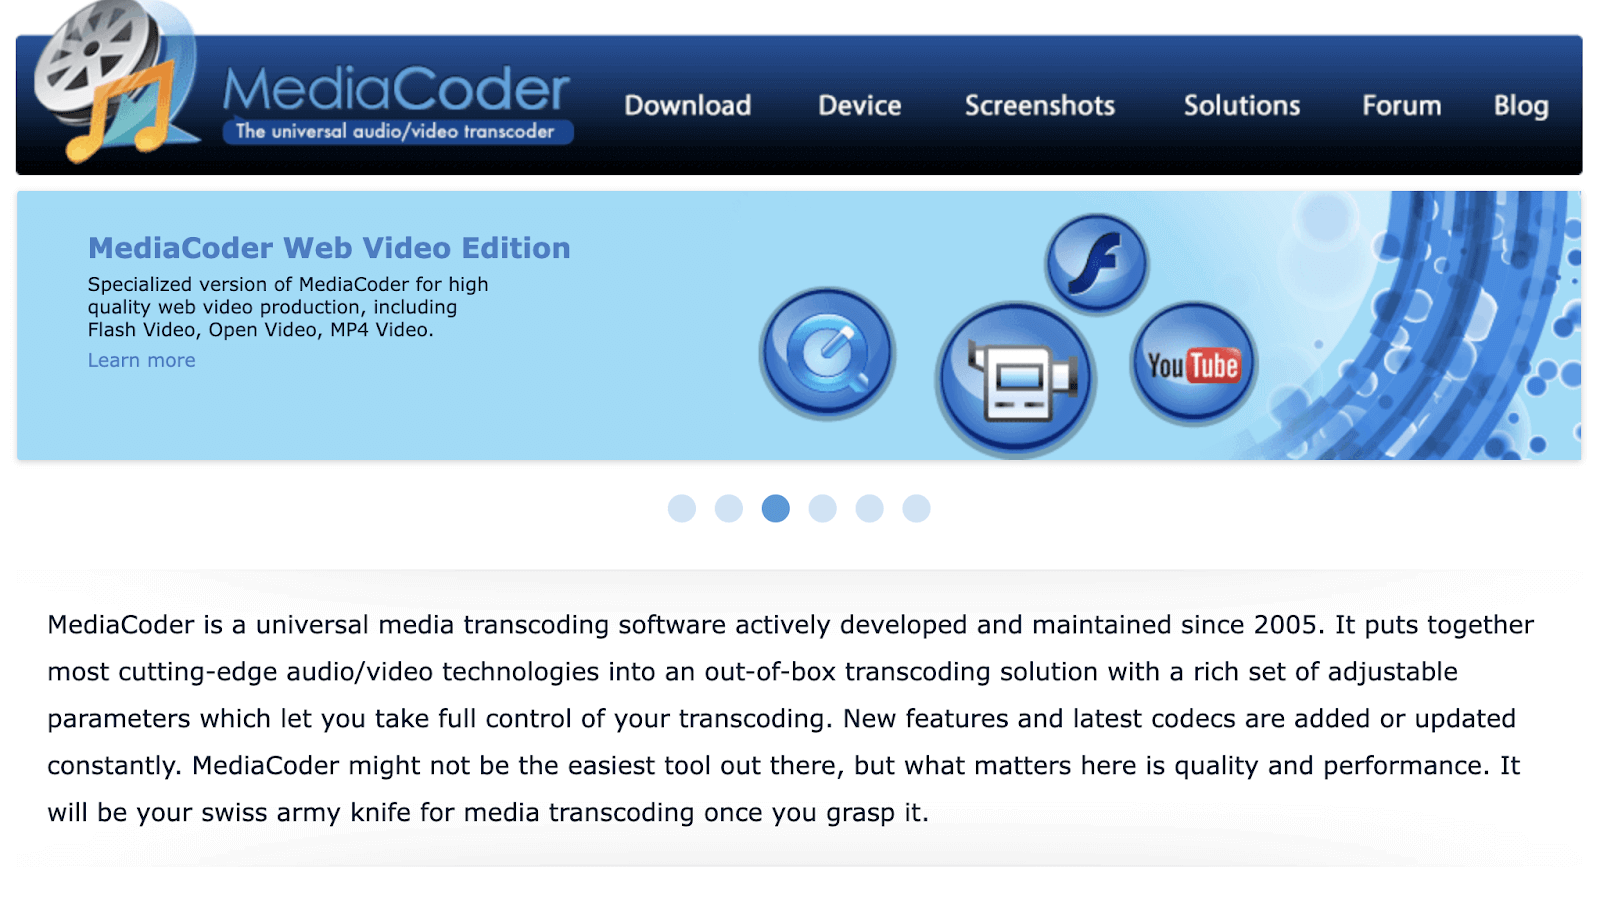
MediaCoder is a veteran in the online video converter market. Since 2005, it has offered free software that converts video and audio files across various formats. MediaCoder supports many formats, including MP4, AMR, and WAV. You can use a wizard to create the files, or adjust manually with a drag and drop function.
How it works:
- Launch the MediaCoder app and add your video file.
- Adjust various settings, such as format, bitrate, and resolution, as per your requirements.
- Start the conversion process.
Pros:
- Plenty of customization options.
- Hassle-free converter.
- Offers advanced settings to optimize conversions.
Cons:
- Interface can be complex for new or casual editors.
- Requires software download.
The importance of compressing your video
If your video will be living on the internet, it is crucial that you compress it down to a manageable file size before uploading it and sharing the link. There are three reasons for this.
- Social media sites function best with compressed video. The lion’s share of today’s web videos are viewed via YouTube or social media. These sites automatically compress any video that hasn’t already been compressed, but you’ll have the most control over the video’s look and quality if you compress it as part of your editing process. Read more about formatting videos for Instagram.
- Most people watch videos on their phones. People love to consume video content on their phones, but because phones have relatively limited processing power, they need reasonably-sized videos to keep the streams going without buffering. Plus, if a person chooses to download a video to their phone, it has to be small enough to fit on the phone’s internal hard drive, which is usually smaller than a laptop or desktop drive.
- Cloud storage can be expensive. If you’re hosting a lot of video content in the cloud, large video files will tend to decimate your allotted hosting space. This means you’ll either have to rent a lot more cloud server space, or you’ll have to compress your video files so they all fit. Depending upon your budget, compressing may end up as the obvious choice. (You can always save the uncompressed files to an external hard drive for safekeeping).
Edit and share your videos with Descript
The art of video creation and editing has come a long way—largely thanks to tools like Descript, which is changing how creators approach video content. From easy text-based editing and screen recording to publishing your finished masterpiece, Descript makes creating and sharing videos easy.
Want to create shareable pages for your videos with just a click? Get Descript for free today.
Video to link FAQs
How do I create a URL link?
Creating a URL link, also known as a hyperlink, involves using a specific web address or URL that directs users to a particular website, video, or online content. To create one, identify the content or webpage you'd like to link to and copy its URL from the browser's address bar. You now have a link you can paste and share.
What does turning a video into a link mean?
Turning a video into a link means generating a shareable URL (link) that directs users to view your video.
What is a URL?
A URL (Uniform Resource Locator) is a web address that specifies a particular resource's location on the internet. It often begins with 'http://' or 'https://', followed by a domain name and possibly additional paths or parameters.
How do I convert a URL to an MP4?
To convert a URL to an MP4, you'd typically be extracting or downloading video content from a given URL into an MP4 format on your device.


=2520(1)-p-500.jpg)
